
RENOVATING A BALCONY WITH TILES BONDED IN ADHESIVE, STEP BY STEP
Over time, balcony tiles stop looking good. Weathering and the outdated construction methods used to build many balconies cause tiles to crack and come loose, until the whole surface simply fails. If you want to keep using your balcony, a renovation is due. To carry it out properly, you need to know how a balcony should be renovated.
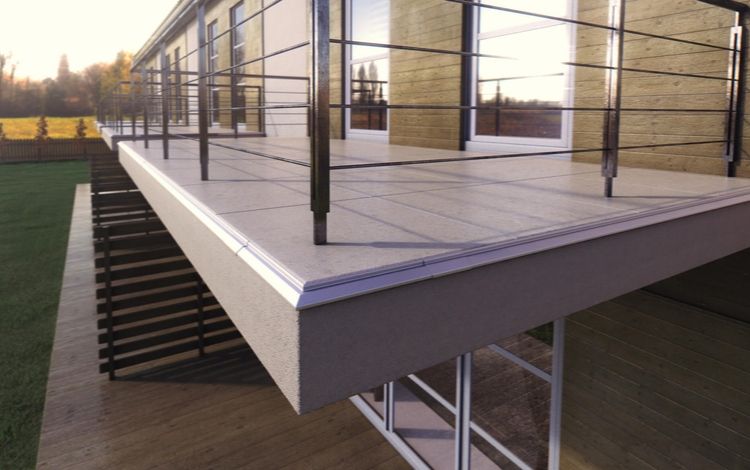
WHERE DO YOU START WITH A BALCONY BUILD-UP USING TILES BONDED IN ADHESIVE?
In most cases a balcony has a relatively small usable area. For this reason, a balcony renovation should be neither labour-intensive nor expensive.
We would like to explain how to carry out a balcony renovation correctly, so that you can enjoy the result for many years. We are looking at a balcony with a floor of tiles bonded in adhesive.
The work is done in several stages – to carry them out carefully, you need suitable tools and modern materials.
First, assess the technical condition of the balcony. Consider carefully what needs to be done and whether the tiled balcony floor needs a full or only a partial renovation.
When renovating a balcony, correct preparation of the substrate is the foundation.
That is why you should start by removing all broken or rusted parts. Then lay the screed – without forgetting the fall. The cost of a balcony renovation can be genuinely low if you make good decisions. Think carefully right from the start – when choosing the materials.
WHICH MATERIALS DO YOU NEED TO RENOVATE A TERRACE OR BALCONY YOURSELF?
The quality of the materials you choose is crucial. Choosing the right materials is already half the battle in a successful terrace or balcony renovation. After all, you don't want to renovate again in a few years. One important detail of any balcony build-up is choosing the right balcony edge profiles. If the balcony edge is sealed with sheet metal only, corrosion can set in and moisture penetrates the substructure. Then it is not only the sheet metal at the edge that rusts, but other parts of the whole construction too. The tiles crack and fall off. That is why choosing the materials matters so much – especially on balconies with a floor of tiles bonded in adhesive. We at Westermayr Profile offer you the best materials.
Good materials for a balcony build-up are:
- Primer / impregnating agent
- Damp-proof waterproofing
- Westermayr Profile balcony edge profile for ceramic tile floors
- Grout
- Reinforcing tape
- Ceramic tiles (resistant to water and weathering)
BALCONY RENOVATION GUIDE – THE STAGES OF THE WORK
On the concrete base slab on which the tiles will be laid, a waterproofing layer must first be applied under the tiles. This reduces voids – so that the tiles do not crack or come loose. It is important to use modern, easy-to-apply products that are resistant to harmful water and weather conditions.
How do you renovate a balcony step by step? We explain below.
BALCONY RENOVATION – PREPARING THE BALCONY FLOOR
If water stains, damp or even moss appear on the balcony surface, it is a clear sign that you need to act. Renovating a concrete balcony must start with thorough cleaning. What exactly should you do?
Remove the rusted drip edge flashing and knock off all damp sections of render and loose parts of the concrete slab
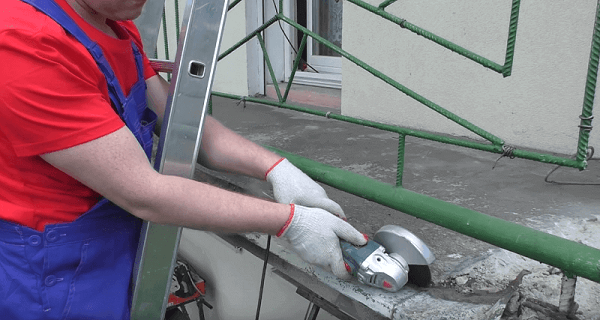
Level out the top layer where it has dried out or cracked
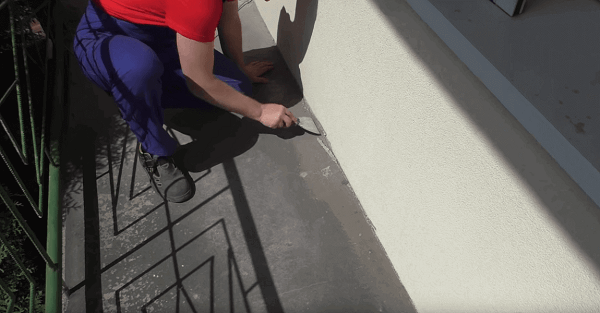
Check the fall – it should be at least 1.5%. If the fall is too shallow, water can pool on the balcony.
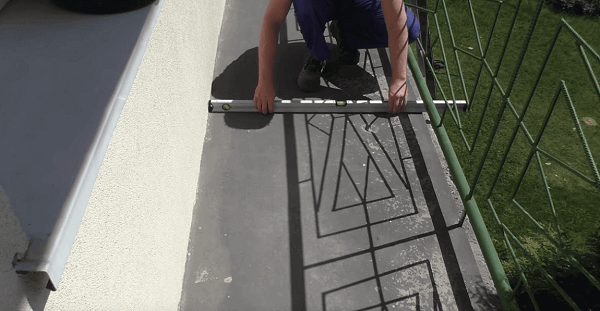
Prime the entire surface
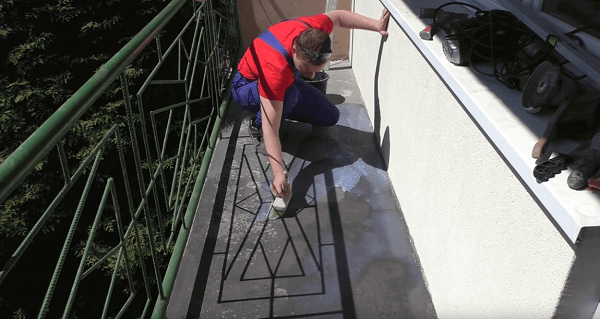
Apply levelling mortar with a trowel
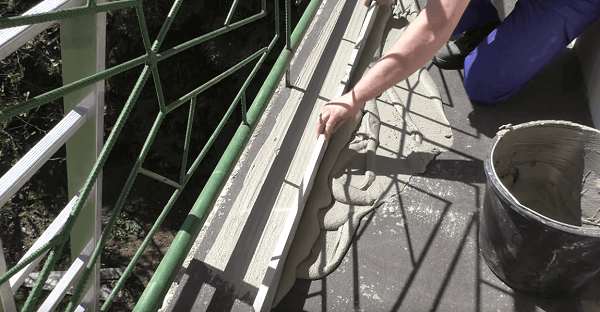
BALCONY RENOVATION – THE NEXT STEP – WATERPROOFING THE EDGE ZONE
Waterproofing the balcony is essential – it ensures that the tiled floor is watertight and frost-resistant. The best choice is a two-component mineral waterproofing mortar.
Balcony edge profiles are vital when waterproofing a balcony – they ensure water is drained away correctly. Without a balcony edge profile, corrosion, damp, water running down the walls and cracked tiles are far more common. Mould growth is also frequent, especially in detached houses.
So how can you improve the edge zone during a balcony renovation or balcony build-up? Ideally with a profile. The best drip edge profiles should meet a few important requirements – they should be corrosion-resistant, CE-certified, made from high-quality aluminium and able to withstand a wide range of weather conditions.
To install a balcony edge profile correctly, first grind the balcony edge slightly or leave a step if you plan to lay new screed. An edge profile is very easy to install – ideally on waterproofing mortar with reinforcing tape. This tape is also used along walls and at balcony doors. This is how the balcony is protected against moisture.
Finishing the sides and corners of the balcony. The side and corner profiles are installed in exactly the same way as the straight profiles.
When renovating a balcony in an apartment block or a detached house, remember to allow for expansion joints. These can be cut neatly with an angle grinder.
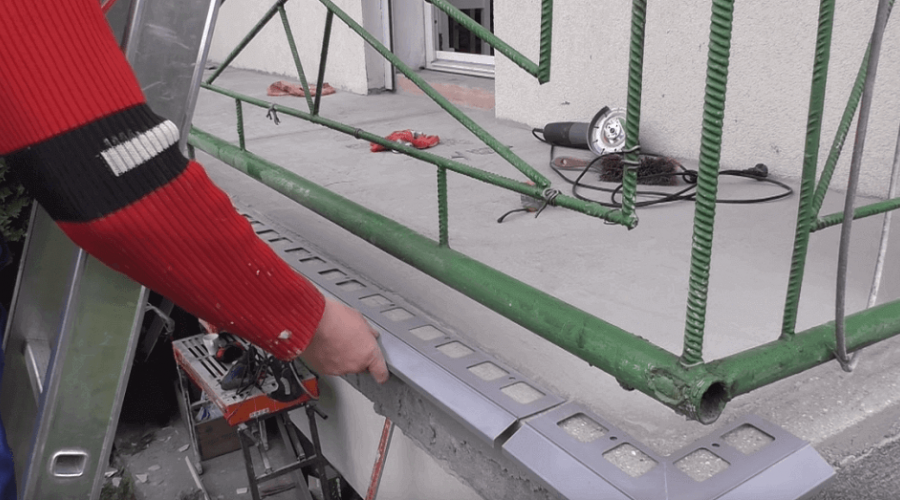
RENOVATING A BALCONY WITH TILES
Once all the preparatory work on the balcony or terrace is done, you can finally lay the tiles. Tiles are a good way to repair a balcony, and ceramic tiles are the best solution here. When choosing tiles, however, make sure they are frost-resistant, hard-wearing and slip-resistant. Balcony tiles should have a water absorption of no more than 3%, abrasion resistance class III and slip resistance R10. Large tiles of 30x30cm or 40x40cm work best. On terraces, even larger formats are recommended – 30x60cm or 120x120cm.
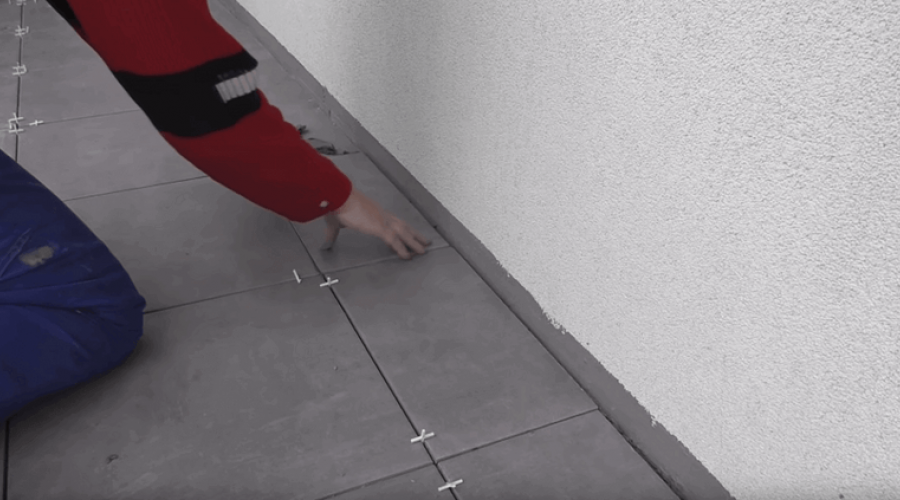
Laying tiles on a balcony or terrace should start with planning where they will go. It is important that the tiles line up straight with the balcony edge profiles and expansion joints. The first row of tiles should overhang slightly. When bonding ceramic tiles, use a flexible tile adhesive and spread it with a notched trowel. How do you seal the front of the balcony when laying tiles there? The tiles are bonded onto the front balcony edge profile.
When tiling, you also need to allow for the skirting. It is fixed with adhesive – leaving a gap a few millimetres wide for small spacers. Then fill this gap with an expansion cord and grout everything. When grouting, pay particular attention to the quality of the mortar – it must be waterproof and flexible. Joints should be at least 0.5cm wide. Finally, apply a silicone sealant over the tiles.
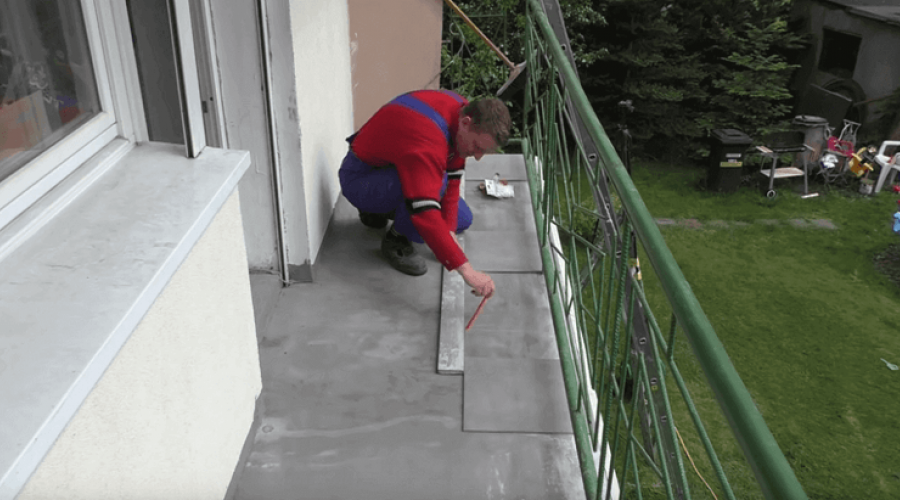
WHAT OTHER WAYS ARE THERE TO FINISH A BALCONY?
Laying ceramic tiles in tile adhesive is not the only way to finish a balcony or terrace.
A balcony can also be renovated with resin
This is a popular solution – especially on new balconies and terraces. Resin is used to renovate or waterproof a balcony. The process is very similar – first clean the balcony of unevenness and dirt. To waterproof a balcony properly, you should use a balcony edge profile. A resin finish seals the balcony very well and the entire surface remains usable. Resin is best applied with a roller; after the second coat, the floor should be sprinkled with quartz sand. A final top coat completes the job. This creates what is known as a stone carpet – with no joints or leaks. If you want to renovate your balcony yourself, especially if it is semi-circular, resin is the best solution!
A terrace on pedestals – the tiles
The slabs can be laid on Westermayr Profile pedestals. They provide good support for the tiles and also ensure excellent ventilation.
Even if you are not a professional, you can renovate your balcony yourself – either with ceramic tiles bonded in adhesive or with resin – it can be done! Just follow the right stages of work and use high-quality materials. That way you will get a satisfying result and, above all, a great place to relax.